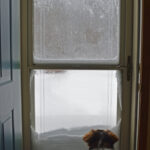
Are you living with leaky windows in the Greater Chicago area? Rather than putting up with the damp and drafts, replace your windows using leak-proof installation methods.
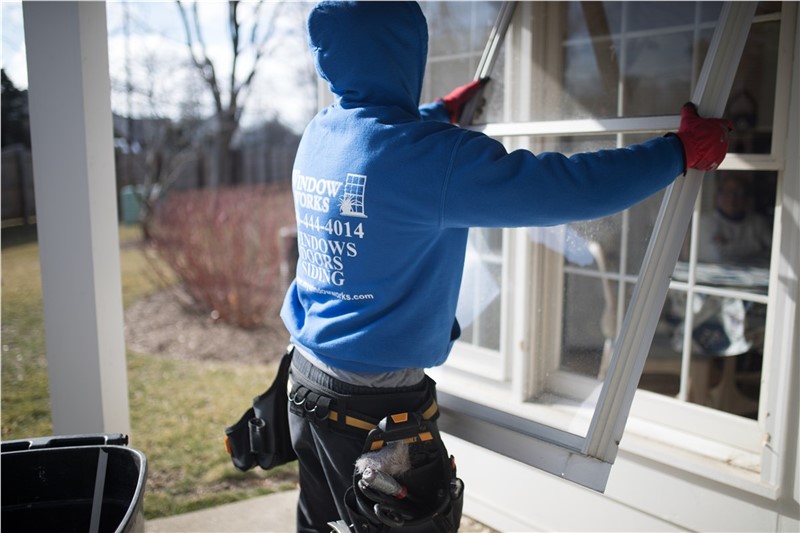
Any experienced window company along Lake Erie knows to use several layers of protection to keep client’s windows from leaking in the future. At My WindowWorks, that’s what we do. Moisture-resistant installations are just another one of our window features.
But, if you are keen to do the job yourself here are the steps to install a leak-proof window.
Steps to Waterproof Your Window Install
As you replace your old windows, you’ll want to add multiple layers of water-resistant protection. These materials will do a lot to keep your windows free of moisture damage and your home dry. It’s also an added layer of energy efficiency to keep your home comfortable whether it’s hot or cold outside.
Here are the basics of leak-proof window installations:
- Measure the height of the window. The new window must be one-half to three-fourth inches smaller than the old window.
- Remove the sashes and the storm window from your old window.
- Pry out the frame and pull out any side springs.
- Cut out the exterior sash stops of the old window.
- Remove the upper window sash.
- Cut out the middle parting stop of your old window.
- Pull out the lower window sash.
- Fix damage to the window opening if there.
- Vacuum or wipe down the windowsill to remove all debris.
You have successfully removed your old window from the house. Now is the time to install the window replacement! This is the part where the water-resistant elements are also installed.
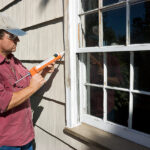
- Apply a layer of high-quality flashing tape along the length of the windowsill plus six inches up either side of the window opening.
- Check that the windowsill is level.
- Use wooden shims to level the windowsill.
- Fix shims in place with more flashing tape.
- Apply two more pieces of flashing tape down the sides of the window opening.
- Overlap the flashing that is already applied to the windowsill by a good amount.
After you apply the flashing tape to the sides and sill of the window, you’ll want to switch to a metal flashing for the head of the window. This way you can prevent loss of adhesion due to any moisture or humidity in the environment.
- Protect the top, inside of the window opening with a metal flashing head.
- Apply a layer of caulk to the inside of the metal flashing to create an airtight seal.
- Screw a metal flashing head to the top of the window opening.
- Apply a second layer of caulk along the edge of the metal flashing.
Next, you begin the process of setting the new window into place. Of course, we’ll add a few more layers of high-quality sealant and some expanding foam for good measure.
- Apply a three-eighths-inch bead of high-quality sealant along the interior window head, jamb stops, and sill.
- Place the window into the opening, ensuring that it contacts the sealant.
- Add shims to the window sides and meeting rails as needed to ensure it is even and level.
- Screw the window into place in the window opening.
- Cut away the excess wood from the shims.
- Apply a layer of expanding foam along the center length of the windowsill, sides, and head.
- Install a sill adapter to cover any gaps between the window and the sill.
- Install trim around the window to cover the edges.
- Apply a layer of sealant around the window trim.
- Apply a layer sealant around the interior trim.
While the process of replacing a leak-proof window involves many steps, it is an effective solution for stopping moisture in its tracks. If you don’t want to tackle this job on your own though, call on My WindowWorks for assistance. Our window company can install a premium, leak-proof window in your choice of styles, colors, and with a selection of attractive glass features. To set up a free window installation appointment, just give us a call.
Subscribe to WindowWorks's Blog
Get WindowWorks's latest articles straight to your inbox. Enter your name and email address below.